
Here’s more about the AIDS/Lifecycle ride. Ok. Where were we? Oh yeah. You have a bike, you are comfortable with your new pedals and your scraped knee is healing up nicely. Time to start training.
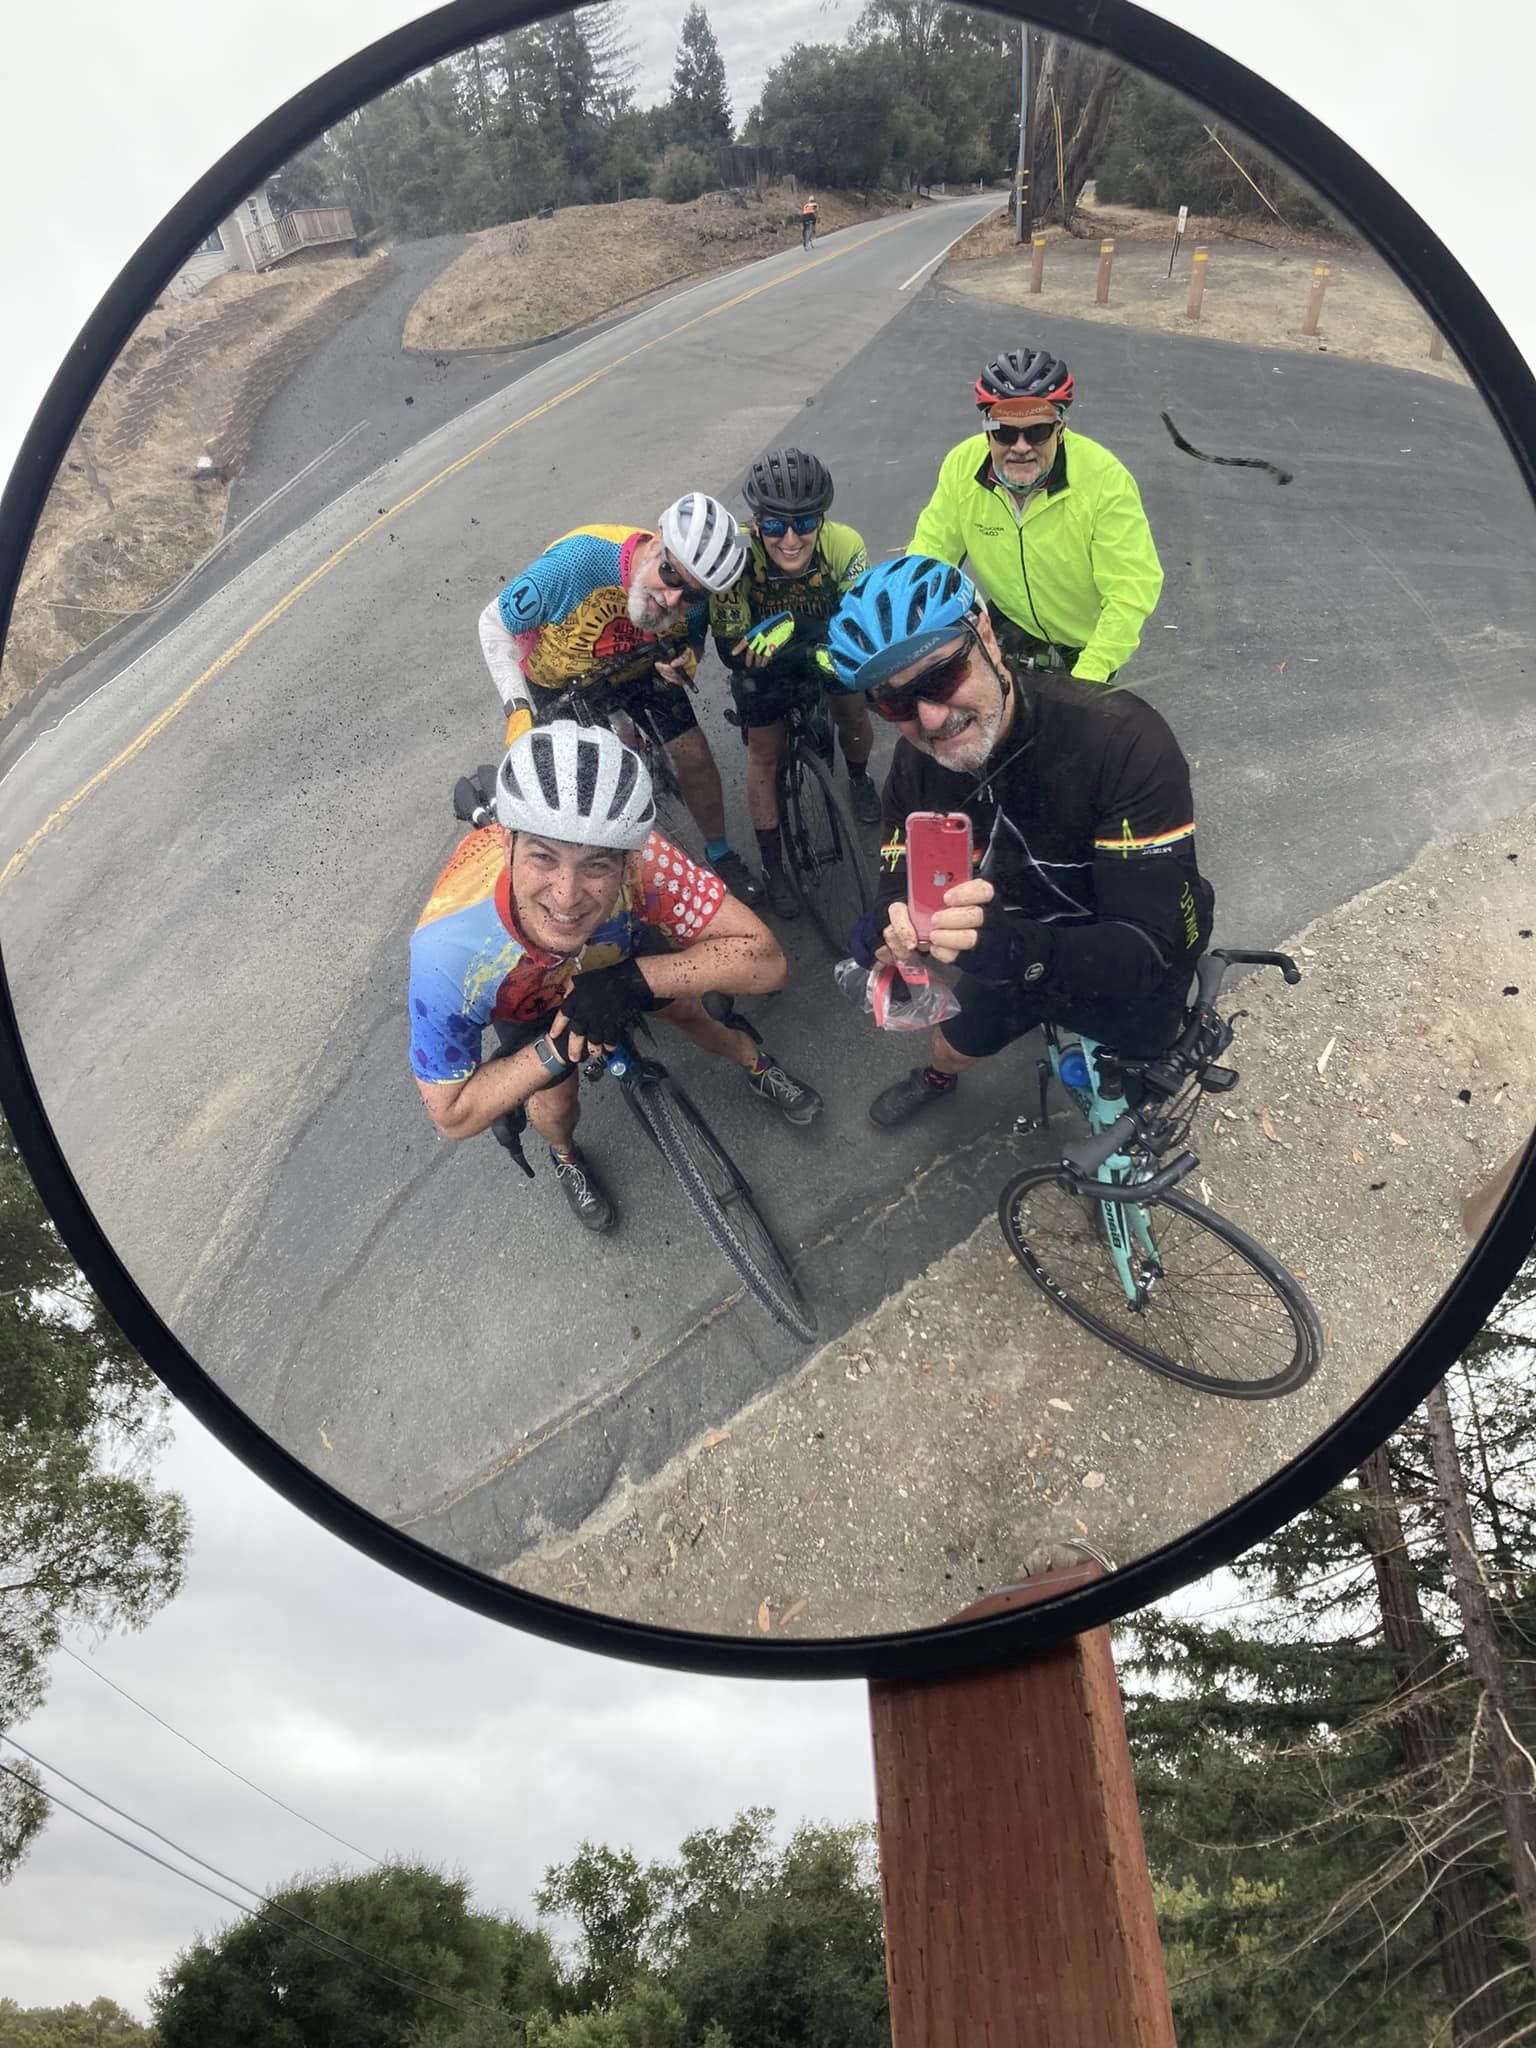
The training rides are more than useful, they are fun and a great way to meet cool people while learning all of the various riding routes in your area. Most build in regular rest stops and some even have full SAG support if needed.
The key to getting through this event lies in putting in the time to log the miles to get ready. Maybe you are thinking of that time you signed up for a 5k run and just showed up with no training, and aside from not being able to walk down stairs for two days you did just fine. Sorry, but that ain’t gonna happen here. The good news is that the ride organizers know how to do this. Starting in January, there are organized rides all over the place that are designed to help you progress to the fitness level you need to reach in order to tackle this ride. Most start with easy 20 or so milers and work up.
The rides all have Training Ride Leaders who are skilled at helping you progress and get familiar with the somewhat unique rules of the road that we have to follow out there. No Idaho stops here, Babycakes. It’s foot down, full stop or nothing. You can find the schedule to rides all over with this link: Training Ride Calendar
Pro tip: Start slow. Don’t jump into a 75 mile ride for your first foray. Build up slowly.
When joining a training ride, don’t forget to RSVP beforehand. It really helps the ride leaders plan. They will have cue sheets to hand out the morning of the ride but you can also download most routes into your Garmin, Wahoo or other GPS units. And fer heaven’s sake please be there with enough time to set up your bike before the festivities begin. There is usually a short stretching session and a route review, where you learn all about the weirdness of today’s ride. Then everyone has to sit through the Safety Speech. After 23 of these rides I am pretty familiar with them but they are a necessary part of the event.
Things to bring on a training ride:
- Your bike. Don’t laugh. People have forgotten to rack the things before heading over at whatever ungodly hour ride-out is scheduled for.
- You helmet. Duh number 2.
- Two water bottles. I usually fill one with plain old water and the second with a sports hydration mix, like Skratch or Nuun tablets with H2O.
- Some ride snacks.
- ID, insurance card and cash or debit card in case you want more of the above…
- Gloves.
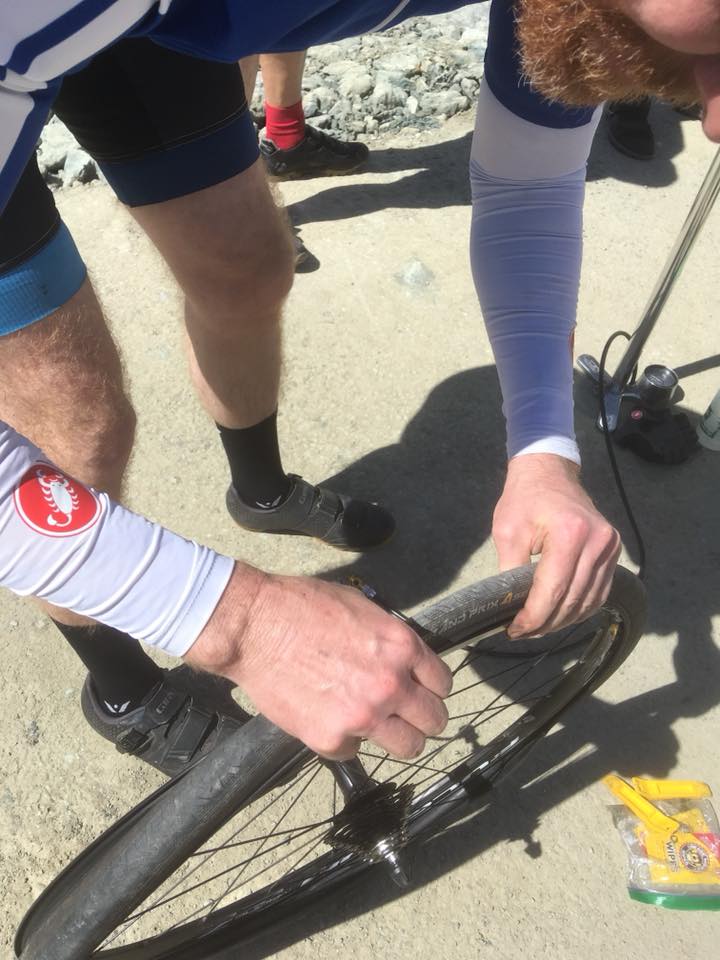
- A spare tube, tire levers and a frame pump or CO2 setup. At some point we all need it. On second thought, Bring a pump no matter. It can can come in handy even if you bring a CO2 cartridge. Don’t ask me how I know this…
- A mobile phone. (As if anyone ventures further than the kitchen without one.)
- A bike computer. These range from simple time/speed/distance recorders to full on GPS computers that are capable of anything short of walking the dog remotely. Give ’em time on that one.
- A ready-to-rock-the-road attitude. Yeah, it’s work, but we have a blast out there.
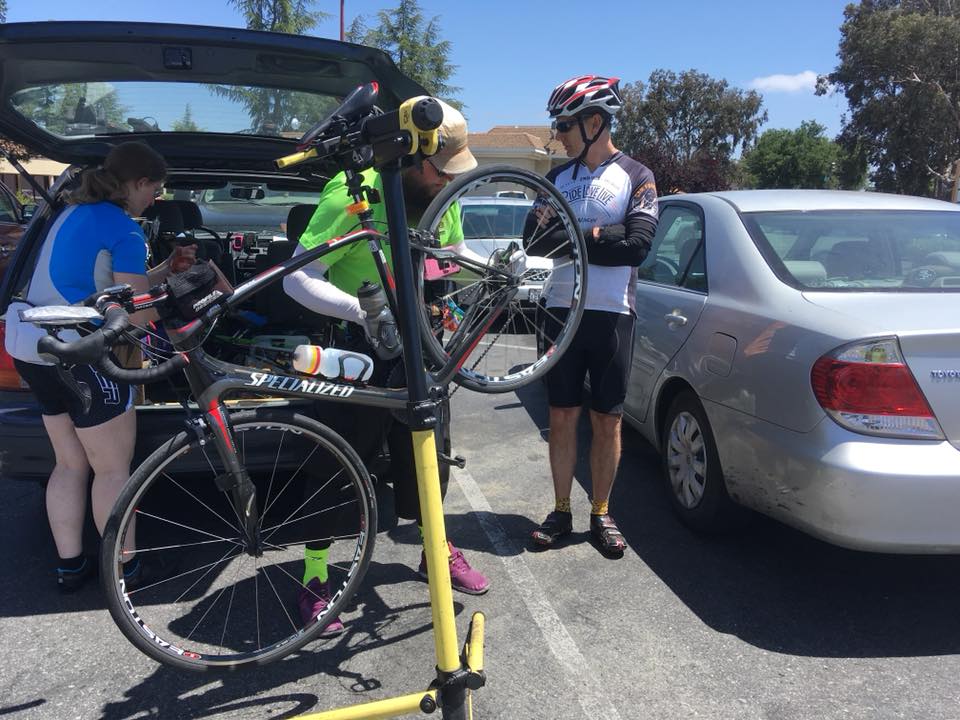
Speaking of getting ready, always give your bike a quick safety once-over. Check your skewers or thru axles to make sure everything is tight, the brakes are in place and working, tires are properly inflated, your bar end plugs are in place and your flashy handlebar streamers are nice and clean. Seriously. A few minutes checking your bike can make a very big difference.
The training rides are great for a whole lot of reasons. One, they are structured with gradually increasing mileage to get you ready for the task that awaits you. They also help get you acclimated to the rather stringent set of Codice della strada (rules of the road) that are strictly enforced on this event. They may seem a bit much, but they are what we need to do to convince the many municipalities through which we ride to grant us passage. No permits, no ride. No ride, no funds raised. ‘Nuff said.
Another Pro tip: Start doing back to back rides on the weekends as the rides get longer. Even if you don’t have time to do long rides both weekend days, make time for a short one. For example a quick 20 the day after a 75 miler. I cannot stress enough the importance of getting used to being in the saddle day after day. Most people find Day 3, which is fairly short at 65 miles (trust me, you will understand that one later…) to be the hardest day, simply because they are used to doing back to back rides but this is usually their first back to back to back. Somewhere around Day 4 the body figures things out, sighs in resignation and just gets ready to go to work.
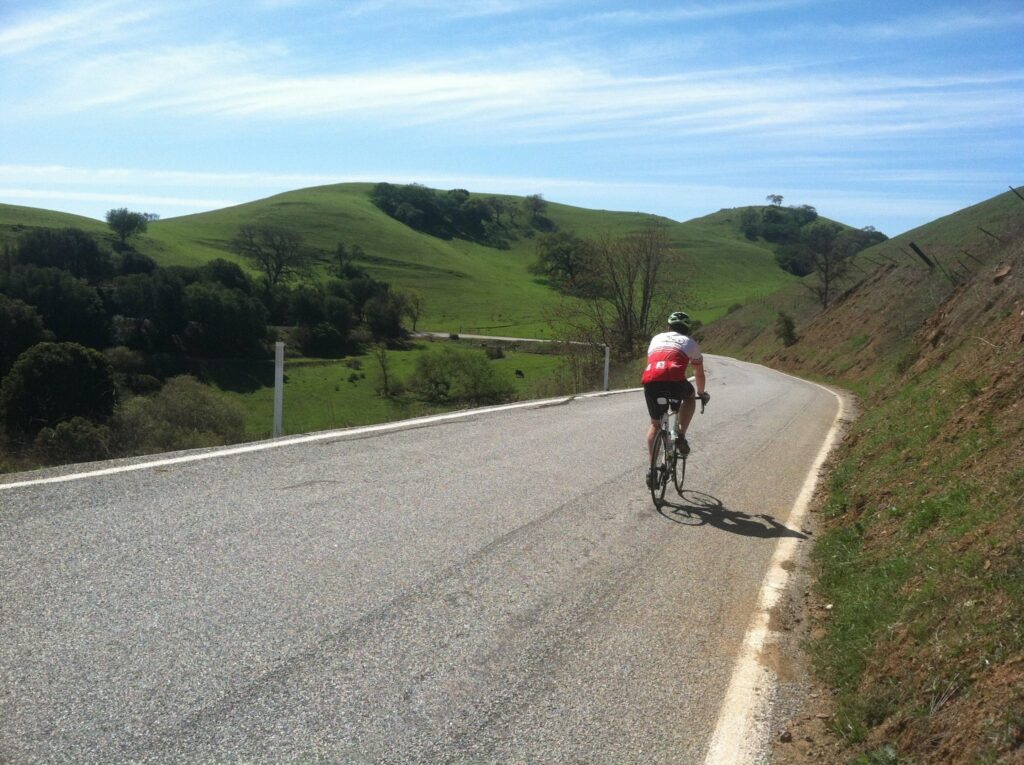
My favorite part of the training rides, though, is getting to know the terrain of where you live or anywhere else from a rider’s perspective. I have done rides with groups all over the state and a couple in other states as well, There is no nicer way to see a new area
than from the saddle of a bike. All while making friends and building a thriving community. And a community firmly rooted in the sacred culture of the Coffee Stop to boot. Time to kit up and get out there!
Next up, what it is like out from check in day one…


